Building a places (geopush) message
A user does not need to have push notifications turned on in order to receive places messages—just location services available to your app (though, it’s probably good practice to ensure both are true, to maintain your user’s trust).
In this topic:
Building your places message
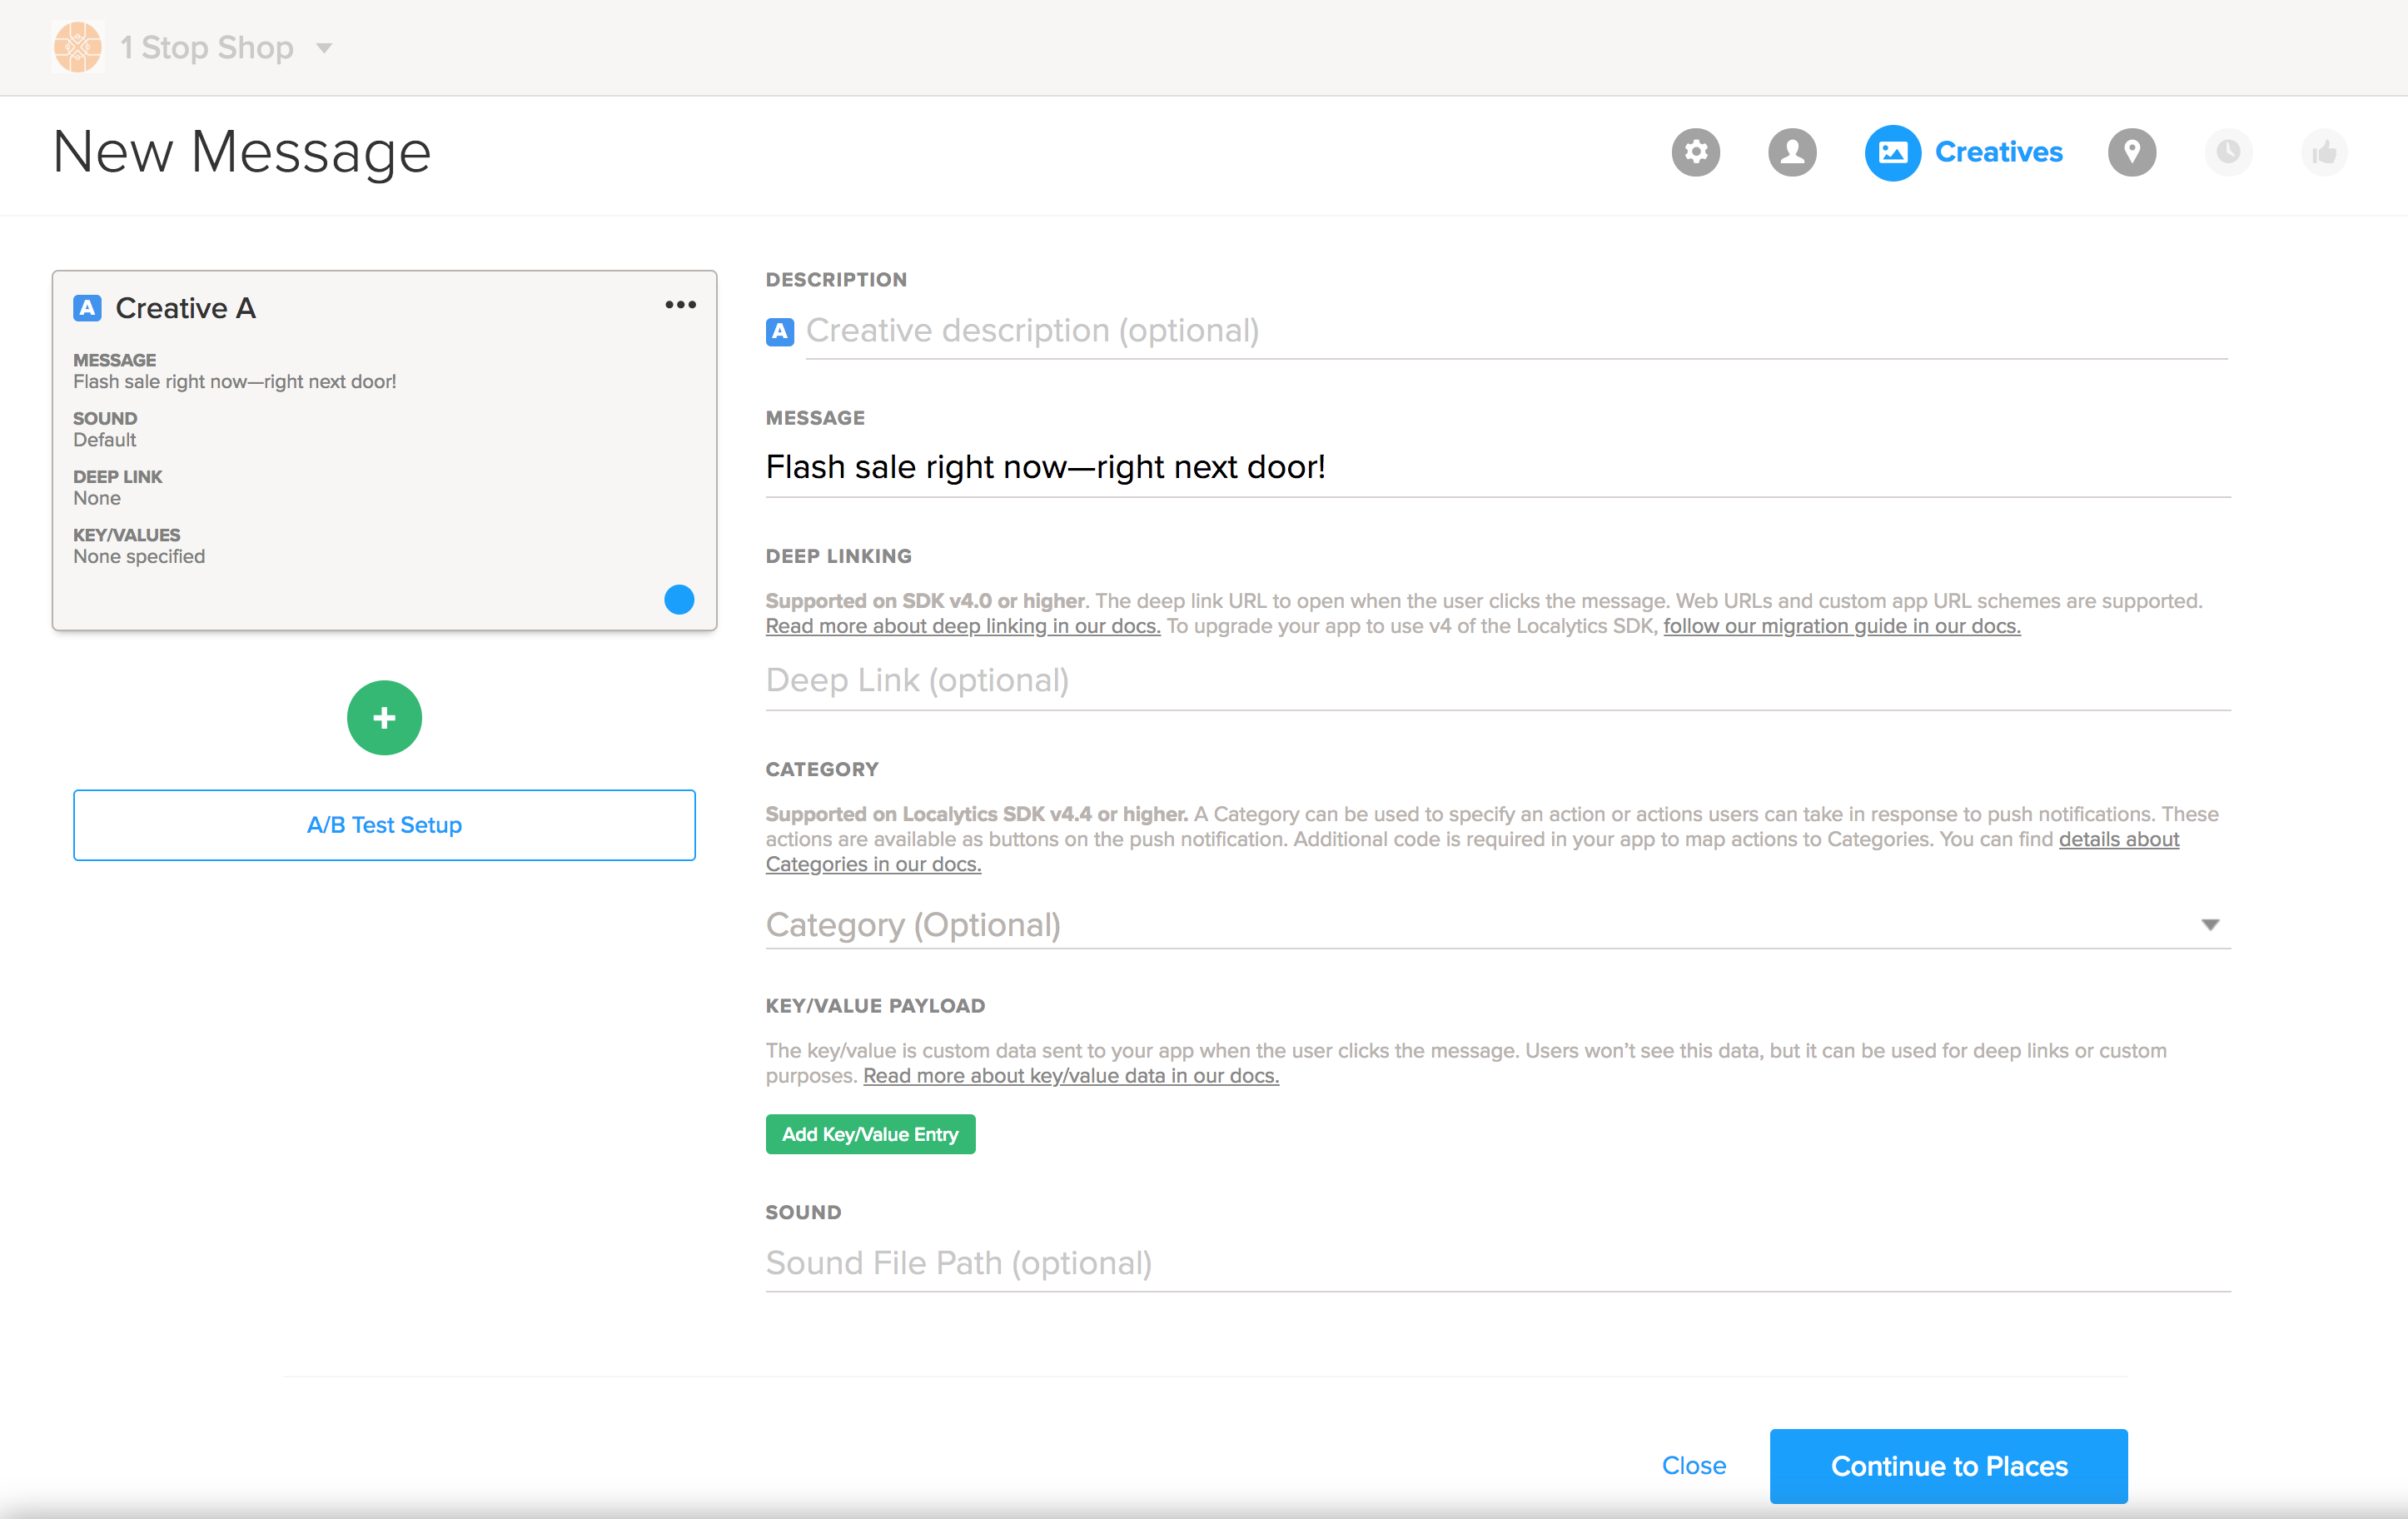
Building a places message is very similar to building a push notification.

- (Optional) In the top field, enter a descriptive name for your message. This name will help you differentiate across your A/B tests, if you choose to make them. You should also name your creative for better data analysis in the future. For more information, see A/B testing basics.
- Enter a message that will be sent when a user enters or exits a geofence.
-
To add deep links to point your users to a certain section of your app, paste your URL in the Deep Link field.
- For iOS messages only: To specify an action or actions users can take, select a category (if available) from the drop-down list.
- Enter one or more key = value combinations.
- To change the sound normally associated with a message, enter the file name (and extension) in the Sound File Path field.
- When you’re ready to choose your geofences, select Continue to Places.
Choosing your geofence
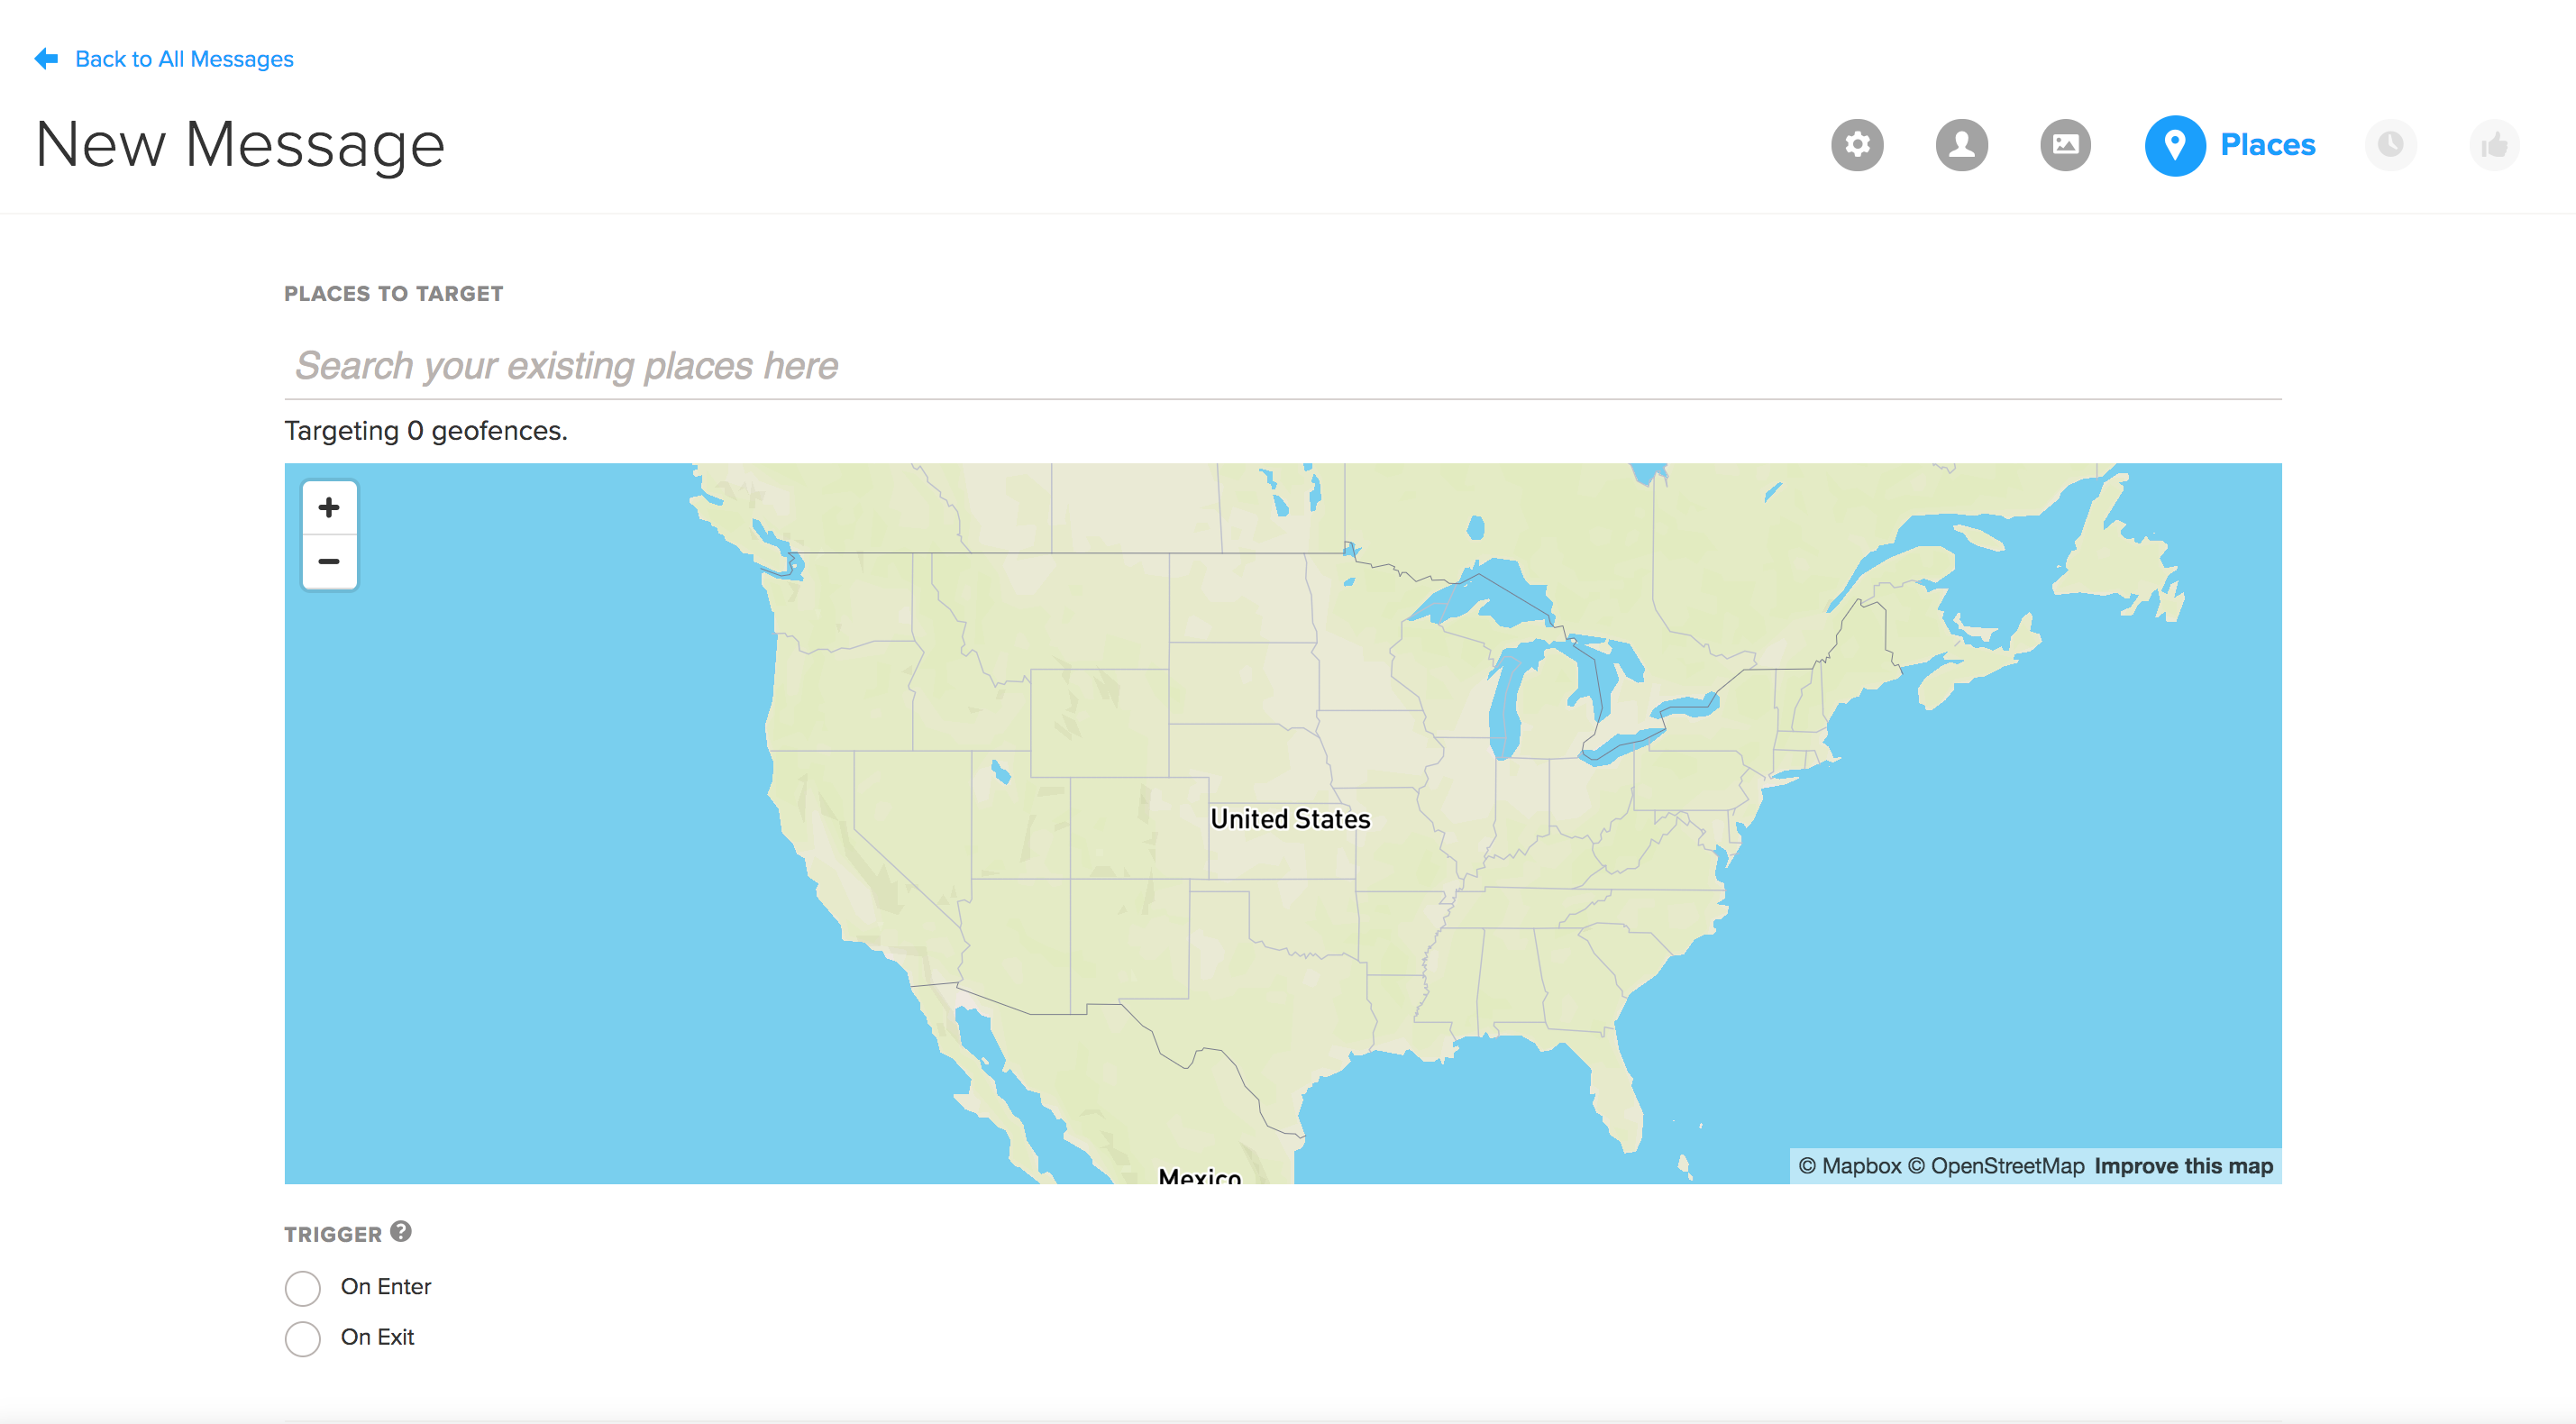
After you’ve built your place message, you’ll need to choose your geofences. There is no limit to the number of geofences you can target for a given message—but it’s good practice to make your messages targeted and relevant to your users.
Geofences are added to Localytics in the Places dashboard or via the API. For more information, see Creating a place (geofence) or Places API in the Developer documentation.
Tip: If you haven’t yet added your geofences, you can add them and return to your drafted message when you’re finished. We’ll save your progress!
-
In the Places to Target field, start typing one of the custom tags (which can include multiple geofences) or start typing the address. You can also scroll through the drop-down menu to find the name of your geofence.

-
Select as many as places as you'd like.
- Select the trigger for the message:
- Select On Enter to trigger when the user comes into the geofence.
- Select On Exit to trigger when the user leaves the geofence.
- When you’ve added all of your geofences, select Continue to Scheduling. For more information, see Scheduling a places message.